

Let’s be honest, scheduling consultations can be an administrative nightmare. Between the back-and-forth emails and playing phone tag, a lot of time is wasted. That’s where scheduling software like Calendly or Microsoft Bookings can help.

Microsoft Bookings Is Your Personal Scheduling Assistant
Microsoft Bookings is included in many Microsoft 365 plans, so you might already have access to it without increasing your subscription costs. The app is part of Microsoft 365, and it’s designed to help you manage scheduling without the usual hassle. With Bookings, clients can see your availability and book their own appointments.
Beyond reducing your administrative burden, Bookings can improve client satisfaction by allowing clients to schedule when it’s convenient for them since it lets them select from multiple time slots. Bookings can also send automated reminders, reducing the number of no-shows.
Setting Up Microsoft Bookings
Step 1: Access Microsoft Bookings
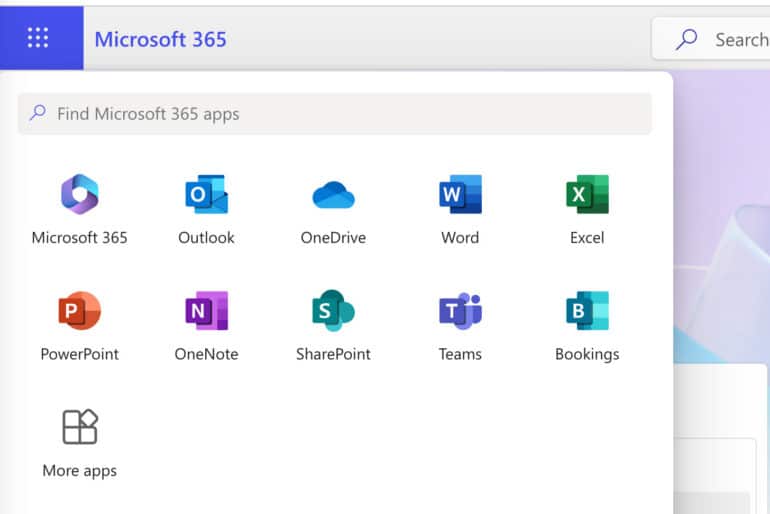
- Sign In: Log into your Microsoft 365 account at www.office.com. You need to have a subscription that includes Microsoft Bookings. Then, click on the apps button on the left-hand side to access all of your Microsoft 365 apps.
- Navigate to Bookings: In the Microsoft 365 app launcher, find and select “Bookings.” If you don’t see it, you can search for it in the search bar at the top of the page.
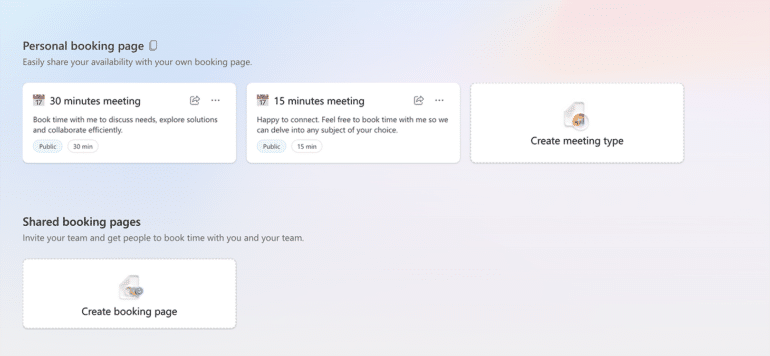
Step 2: Create Your Booking Calendar
- Start a New Booking Calendar: Click on “Get it now” to start setting up a new booking calendar.
- Business Information: Enter your business name, address, phone number, website and business hours. Clients will see this information when they book appointments.

Step 3: Add Your Services
- Define Meetings (aka Services): Click on “Services” in the left-hand menu. Here, you can add the different types of meetings your firm offers — initial consultations, Microsoft Teams videoconferences, phone calls and so on.
- Service Details: For each service, fill in the following details:
- Service Name: The name of the service (for example, “Initial Consultation”).
- Description: A brief description of what the service entails.
- Location: Specify whether the service is offered in-person, virtually, or both.
- Duration: Set the length of time for each appointment.
- Price: If applicable, list the cost of the service.
- Buffer Time: Add buffer time before and after appointments to allow for preparation and overrun.
- Custom Fields: Add any additional fields you need clients to fill out when booking such as case details and contact information.
- Availability Options: You can set custom availability for each service. For example, if you only do initial consultations on Tuesday afternoons, you can make the service unavailable every day but Tuesday and in the morning.
Step 4: Add Your Staff
If you are setting up Bookings for more than just yourself, you’ll want to add staff to each service. Staff are the people with whom the meeting can be scheduled.
- Manage Staff: Click on “Staff” in the left-hand menu. Here, you can add the team members who will be handling the appointments.
- Notifications: Choose how each staff member will be notified of new bookings — via email, SMS or both.
Step 5: Customize Your Booking Page
- Booking Page Settings: Click on “Booking page” in the left-hand menu to customize the appearance and functionality of your booking page.
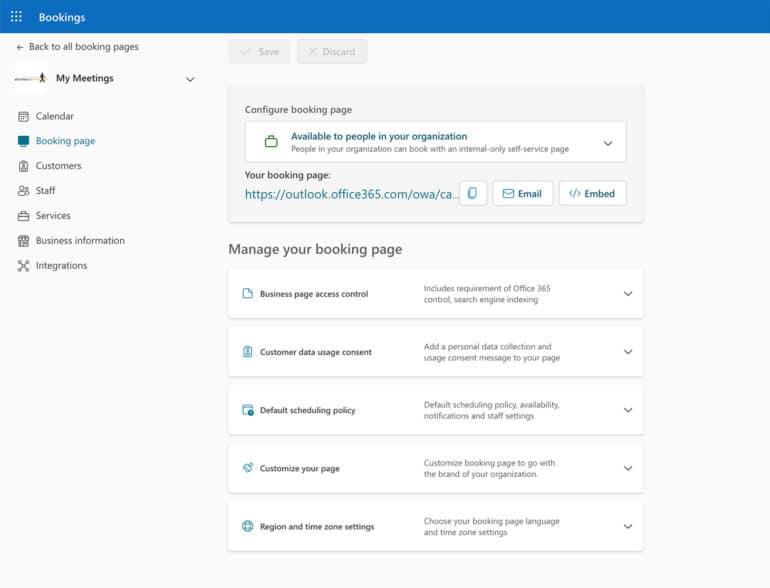
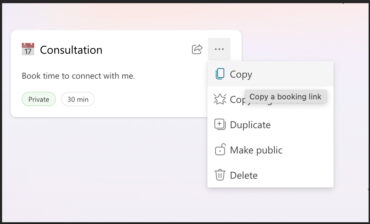
- Booking Page URL: Create a unique URL for your booking page. This link can be shared with clients via email, your website, or social media.
- Client Data Collection: Choose what information you want to collect from clients when they book an appointment (e.g., name, email, phone number).
- Default Scheduling Policies: Set policies for bookings, such as minimum lead time (how far in advance clients must book appointments) and your cancellation policy (how late clients may cancel or reschedule appointments).
- Availability: Set your business hours and the times you’re available for bookings. You can also set specific dates and times when you’re not available (e.g., holidays, office closures).
- Email Notifications: Customize the email notifications clients receive upon booking, confirming, canceling, or rescheduling an appointment.
Transform Your Processes
Microsoft Bookings offers a transformative solution for lawyers looking to simplify their scheduling process and enhance client satisfaction. With its user-friendly interface, automated reminders, and customizable booking pages, Bookings addresses many common scheduling challenges.
Get More Out of the Software You Use Every Day
Check out Affinity Consulting Group’s legal-specific software manuals.
About Affinity Consulting Group
Affinity Consulting Group inspires, enables, and empowers legal teams of all sizes to work smarter, from anywhere. The company’s holistic approach incorporates people, process, and technology. Affinity’s passionate, well-connected industry experts work hand in hand with you to help you better understand and optimize your business — from software to growth strategy, and everything in between.
©iStockphoto.com
Don’t miss out on our daily practice management tips. Subscribe to Attorney at Work’s free newsletter here >